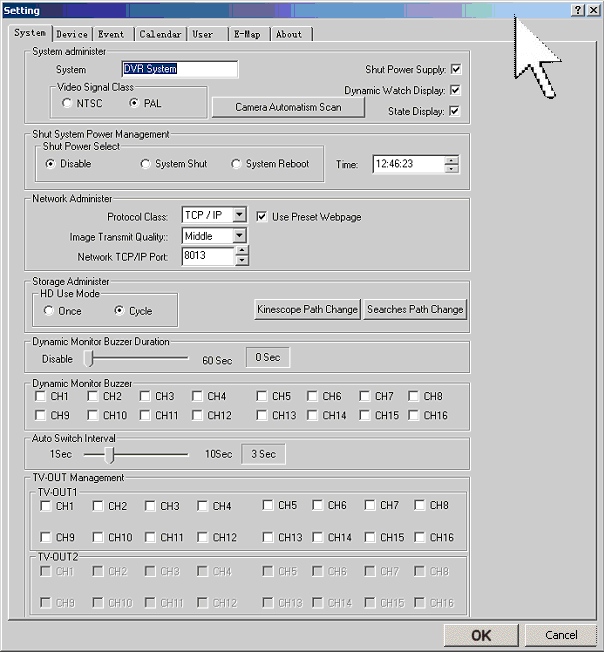
Dynamic Monitor Buzzer Duration & Dynamic Monitor
Buzzer
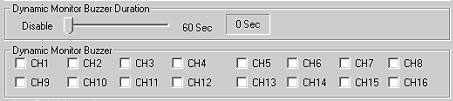
Dynamic Monitor Buzzer Duration - This determines how long the Dynamic
Monitor Buzzer will stay active.
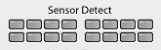
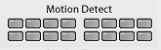
The Dynamic Monitor Buzzer brings cameras to full screen when motion
is detected in front of cameras that are checked.
For example, if you had CH1 checked and something moved in front of
camera one, Camera one will come to full screen for the amount of time you have
the Dynamic Monitor Buzzer Duration set for.
If you have no cameras checked then the Dynamic Monitor Buzzer Duration
is not used.
If you have the Dynamic Monitor Buzzer Duration set to ZERO then the
cameras you have checked in Dynamic Monitor Buzzer don't have any affect.
I guess this would be a good feature if you have a location where there isn't
very much motion. Using this feature can be pretty annoying if there is a lot of
motion. Most people don't use this option.
Auto Switch Interval
Dynamic Monitor Buzzer Duration & Dynamic Monitor
Buzzer
TV-OUT Management 1 & 2
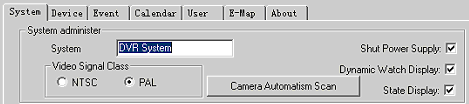
Note: Notice that the TV-OUT2 is grayed out in
this example. This is because this software was running with a 16120 card, not a
16240 card.
If this was a 16240 card then you would have 2 TV outs because
each card has one TV out. 16240 has two cards. 16120 has onlyone.
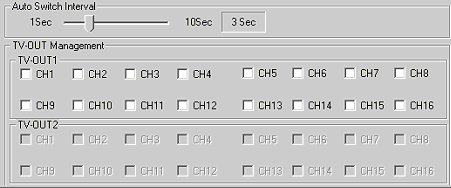
The Auto Switch Interval determines how long each camera is sent to
the TV output. Only cameras that are checked in the TV-OUT1 and TV-OUT2
will be outputted to the the video output connection on the card or cards.
For example: If you had camera 1, 3 and 5 checked in TV-OUT1 and you had the
Auto Switch Interval set to 10 then the system would connect camera 1 to the TV
out for 10 seconds, then it would connect camera 3 to the TV output for 10
seconds and then it would connect camera 5 to the TV output for 10 seconds. At
this point it would start again with camera 1.