Press Menu Button

Released 4/17/06 Version 1.4
| Copy the line below and paste it in your browser's
address bar then press enter. |
| http://www.spyshop2000.com/j2kfirmware1_40/1_4.zip Or you can right click on the line above and select the "SAVE AS" option. |
The download has the firmware updates for the 4, 8 and the 16 channel DVR's You will need to burn the file to a CD as an image file. Put the CD in your DVR and follow the instruction below. |
|
If you don't know how to burn an image file you
may want to have us make the CD's for you. |
Instructions:
Burn the Firmware Update to a blank CD, AS AN IMAGE, not just a data
file.
If you get it wrong the DVR will not see the file and the upgrade will not work.
With the CD in the DVR,
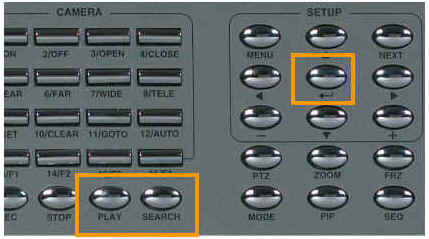
Press Menu Button
Enter your Password
(By default there is no password, just press the ENTER button)
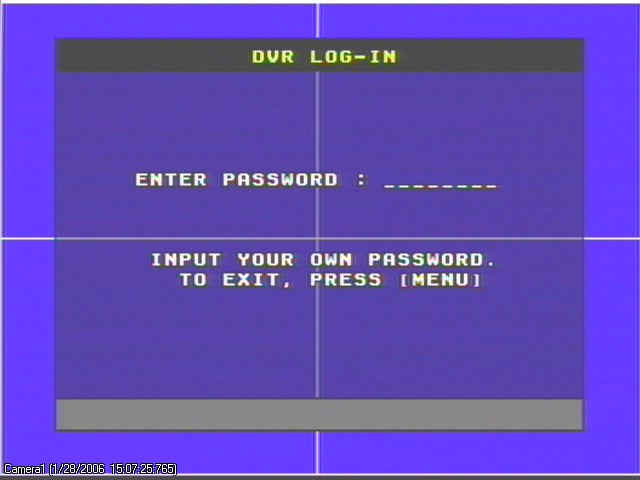
The Press The Enter Button

The System Menu will appear
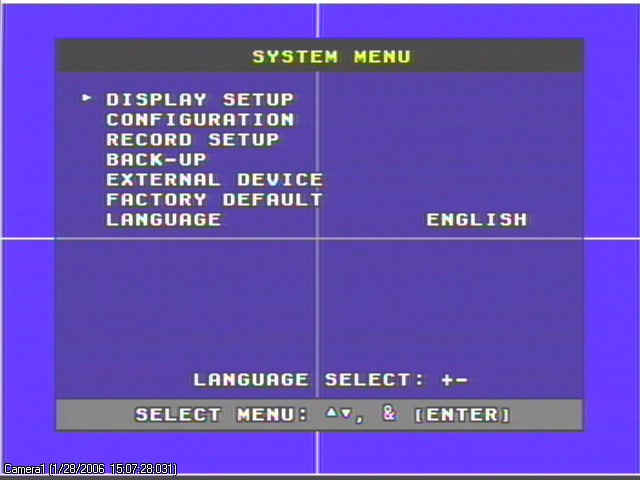
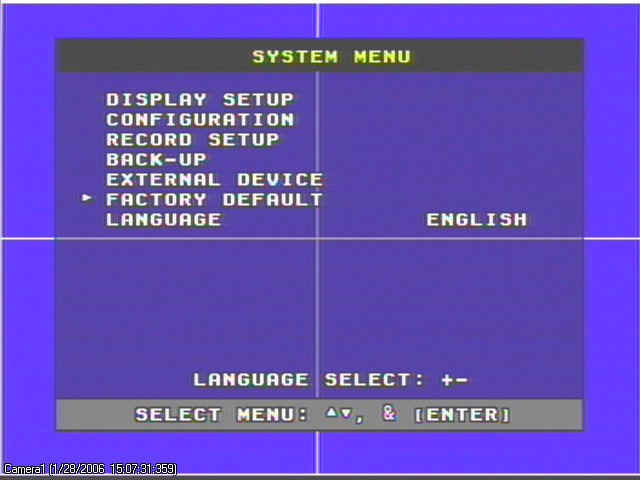
Press the DOWN arrow  until
until
the on screen curser is next the the Factory Default Option
Carefully Press and HOLD the Play and Search buttons.
You must press them both together exactly at the same time. If you get a BEEP you didn't do it
right. Try again.
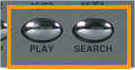
While still holding the two buttons Play and Search,
Press and HOLD the Enter key for 5 seconds.
Now Release the Enter Button, then release the PLAY and SEARCH buttons at the
same time.
You will, or should see the CHECK CD-RW screen for a few seconds.
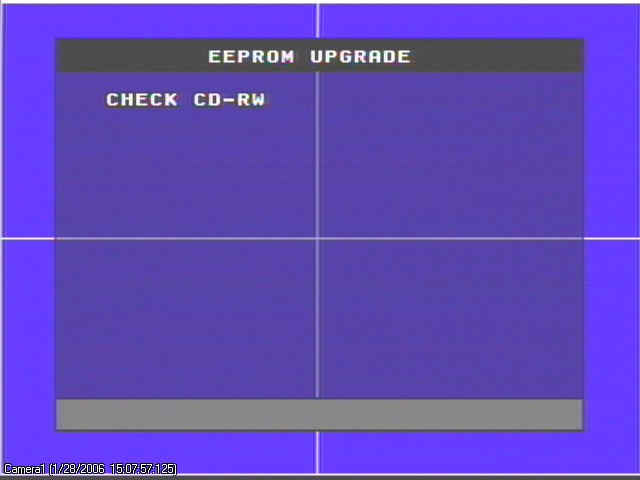
Special note: If you see the CHECK CD screen for a few
seconds then see the FACTORY DEFAULT screen, the the CD that you
are trying to use to UPGRADE from is bad. It was probably not burned to the CD
correctly. Occasionally, you may have to repeat the previous steps two or three
times before it will read the CD and go into the EPROM UPGRADE screen as seen
below.
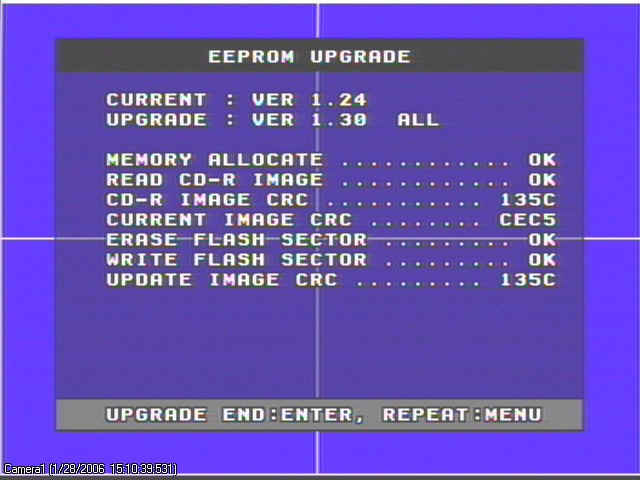
You should now see the EPROM UPGRADE screen. (next two examples)
Notice the current version is 1.24, The new version is 1.30
Let the number roll by until they stop.
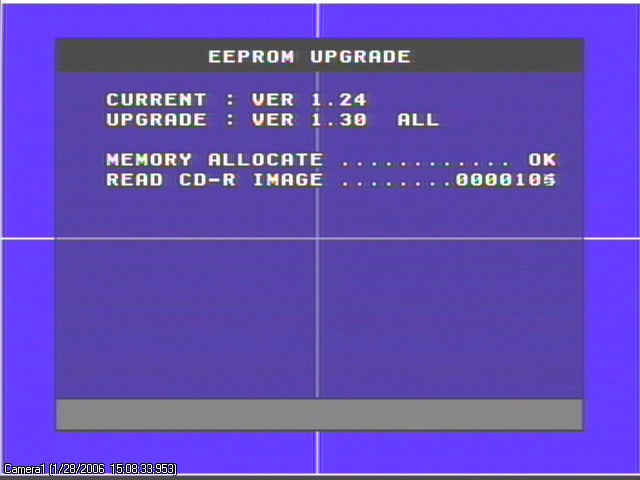
When the number stop rolling you will see the UPGRADE START option at the bottom
of the screen.
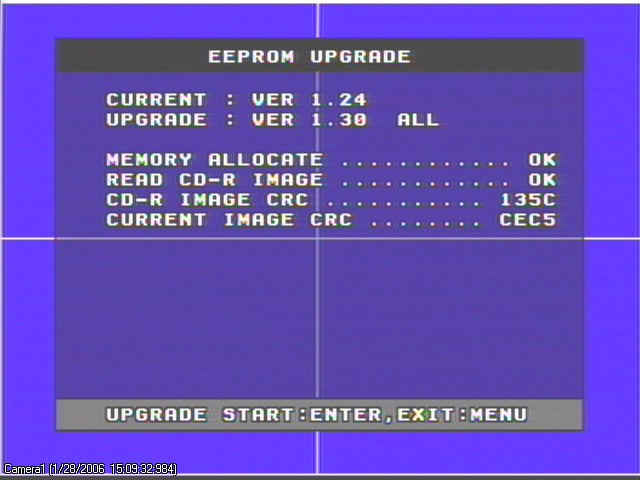
Press the ENTER Button to start the actual
upgrade.
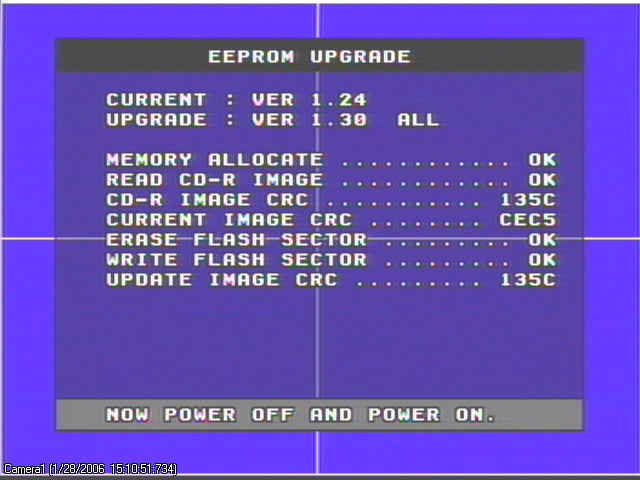
Let the numbers roll again until they stop and you see the UPGRADE END option at
the bottom of the screen.
Press the ENTER Button.
You will now see the message at the bottom of the screen NOW POWER OFF AND
POWER ON
Turn off the DVR using the switch on the back.
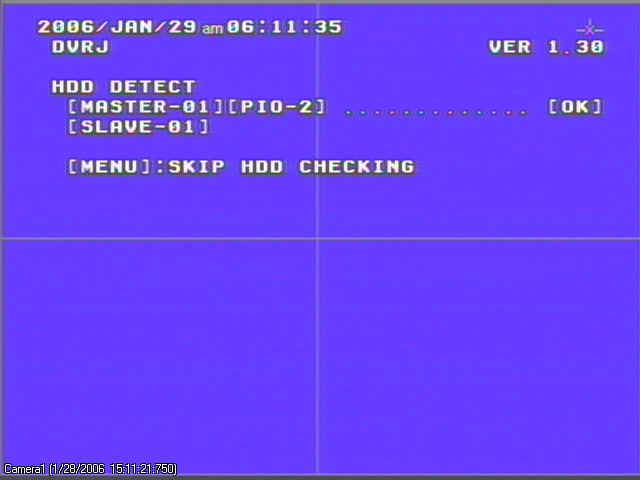
When you turn the DVR power back on you will see the new Version number in the
TOP RIGHT corner.
It should read VER 1.30 as seen below
Now if you go into the SYSTEM INFORMATION screen it should look similar to
this
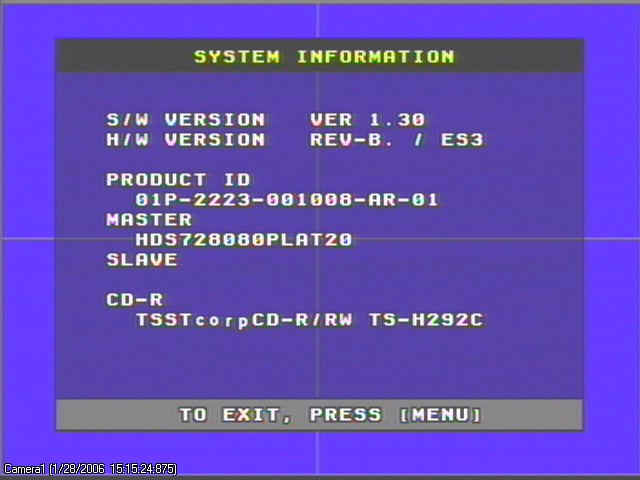
The Upgrade is complete.